Why We Recommend a Denso AC Compressor for Long-Term Reliability
Living in the Macarthur region, we all know that sinking feeling when you start your car on a scorching summer day, turn the dial to “max cold,” and get hit with a blast of warm air. It’s more than an inconvenience; it’s a genuine problem when you are stuck in traffic on Narellan Road or heading out for a long drive. At Cool Car Air Conditioning, we believe the quality of the parts you put into your vehicle dictates how comfortable you will remain on the road.
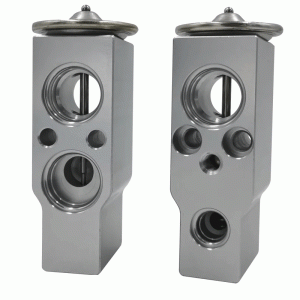
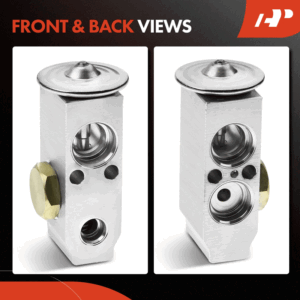
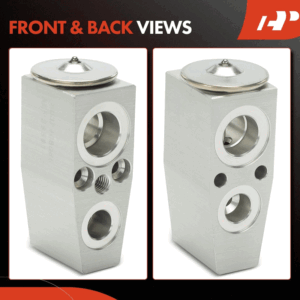
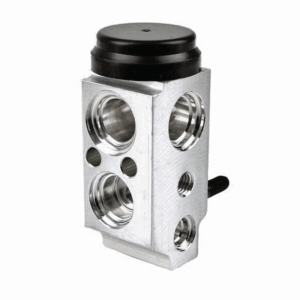
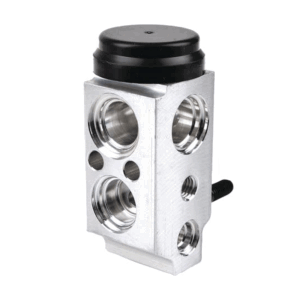
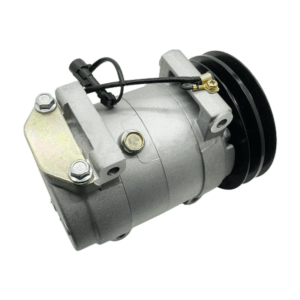
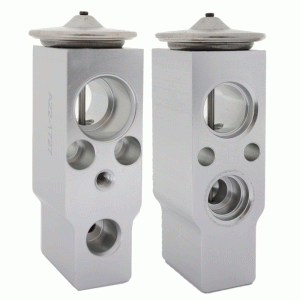
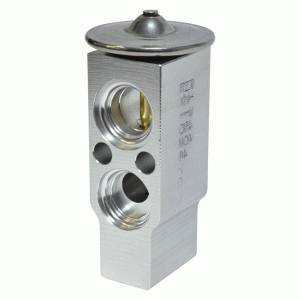
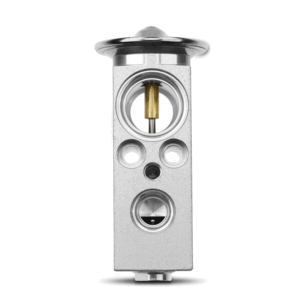
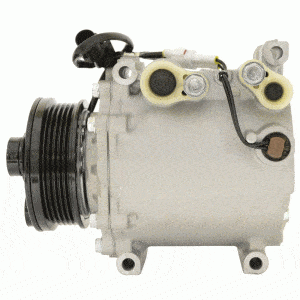
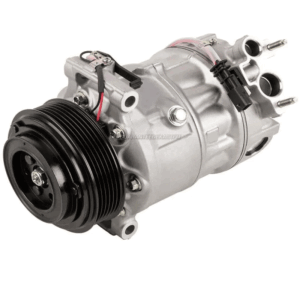
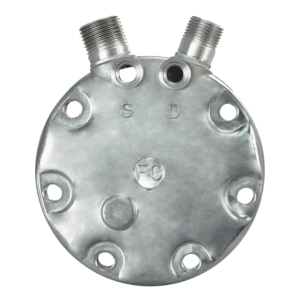
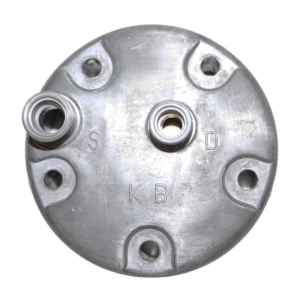
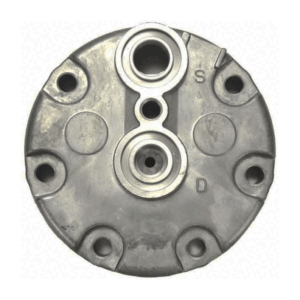
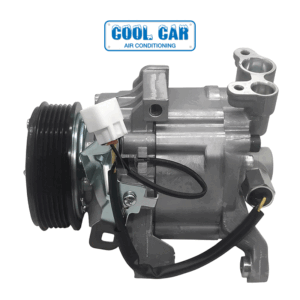
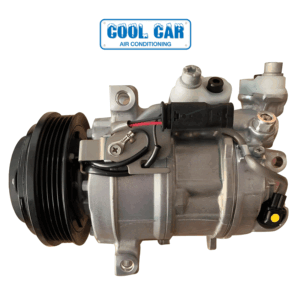
When it comes to fixing these heating issues, the component at fault is frequently the AC compressor. While there are many options on the market, we consistently point our customers toward a specific, high-quality solution. We prioritise durability and performance, which is why we often recommend installing a Denso AC compressor for your vehicle’s cooling needs.
Understanding the Role of Your AC Compressor
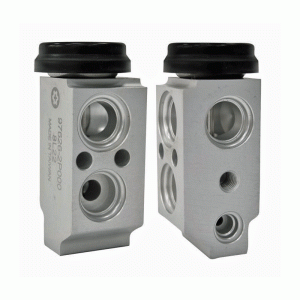
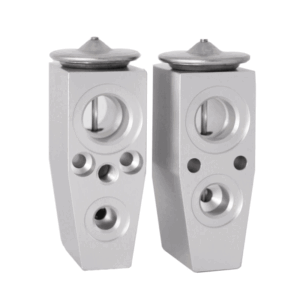
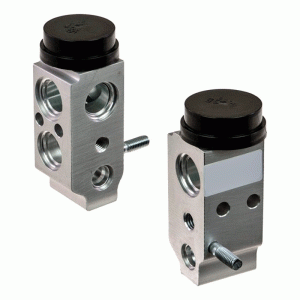
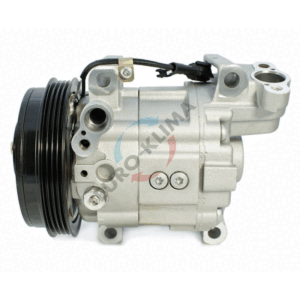
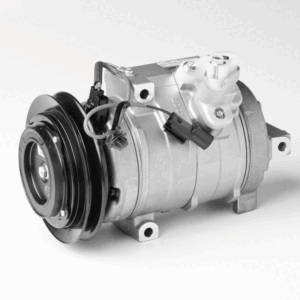
To understand why we are fussy about brands, it helps to know what this part actually does. You can think of the AC compressor as the heart of your vehicle’s air conditioning system. Just as your heart pumps blood, this unit is responsible for pressurising the refrigerant and pushing it through the lines to the condenser and evaporator.
It works under immense pressure and high temperatures. Every time you switch on the cooling, this component engages, spinning at thousands of revolutions per minute. Because it works so hard, it is usually the first major part to suffer from wear and tear. If it fails, the entire system stops working, and you are left sweating behind the wheel. Because the labour involved in swapping this part out can be significant, you want to make sure the replacement unit is built to last, rather than risking a cheap alternative that might seize up in twelve months.
The Denso Difference: Quality Over Quick Fixes
This brings us to our preferred manufacturer. In the automotive world, not all parts are created equal. We strongly advocate for the Denso ac compressor because of its reputation for precision and longevity. Denso is what we call an OEM (Original Equipment Manufacturer). This means that when many major car brands—like Toyota, Honda, or Subaru—build a car in the factory, they install Denso parts right off the assembly line.
When you choose this brand, you aren’t getting a “compatible” knock-off that was reverse-engineered to roughly fit. You are getting a Denso AC compressor designed with the exact specifications required for your engine. These units are renowned for their smooth operation. A poorly made unit can be noisy, causing a whining or grinding sound that ruins the peace inside your cabin. In contrast, Denso units are balanced perfectly to reduce vibration and noise, ensuring your drive remains quiet.
Built for Australian Conditions
Driving in Australia, and specifically around Campbelltown and New South Wales, puts unique stress on a car. We deal with extreme heat fluctuations, dust, and varying road conditions. A budget AC compressor might work fine in a mild climate, but it often struggles when the mercury hits 40 degrees.
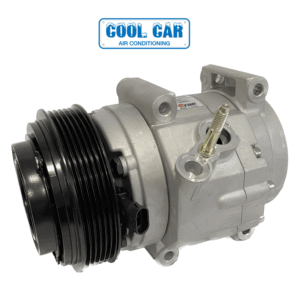
Cheap aftermarket units often have larger tolerances (gaps between moving parts), which can lead to internal leaks or inefficient pumping. This forces your engine to work harder to spin the pulley, which can actually increase your fuel consumption. A high-quality unit fits tighter, runs smoother, and places less drag on your engine. This efficiency matters when you are trying to keep fuel costs down. Furthermore, the internal seals and bearings in a premium unit are made from higher-grade materials, resisting the corrosion and fatigue that kill lesser parts.
The Value of Doing It Right the First Time
We understand that car repairs can be an unexpected hit to the wallet. When you are quoted a price for a repair, it is tempting to ask for the cheapest part available. However, we always advise looking at the total lifecycle cost.
Installing a budget AC compressor might save a few dollars today, but if that unit fails in a year or two, you will be paying for the labour and gas recharge all over again. That is a false economy. By investing in a premium component now, you are effectively “future-proofing” your comfort. You get peace of mind knowing that the most critical part of your cooling system is built to handle the workload for years, not just for the current season.
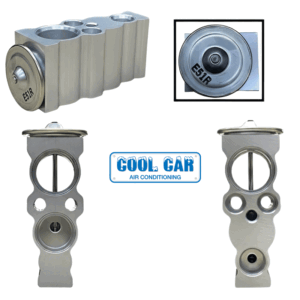
Keep Your Cool with Cool Car Air Conditioning
Maintaining your vehicle requires a team that understands local conditions and values honest advice. Whether you are driving a family SUV, a work ute, or a daily commuter, you deserve a cooling system that works every time you press the button.
If you have noticed your cabin isn’t getting as cold as it used to, or if you hear strange noises coming from the engine bay, do not wait for the system to fail completely. A quick check-up now can save you from a complete breakdown later.
Visit our website to learn more about our services or to speak with our friendly team about the best options for your car. We are here to ensure you stay comfortable on the road, no matter how high the temperature gets outside.
Ready to restore your vehicle’s comfort?
Don’t let the heat get the better of you. For reliable inspections and premium parts in Campbelltown and Macarthur, Contact Cool Car Air Conditioning Today and book your service with the local specialists.